 From the Hosted Journals page you can create, edit and delete hosted journal sites. You can also migrate old journals from earlier OJS installations and manually sort the order by which the journals are displayed on the main site page.
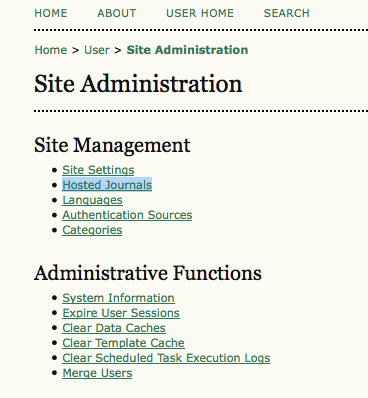
From the Site Administration menu, under the Site Management heading, choose Hosted Journals.

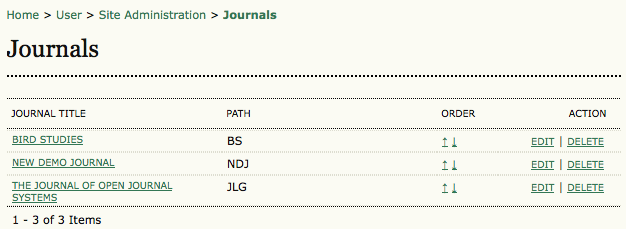
Your Hosted Journals page will look like this, and if you haven’t created any journals yet, it will be empty.

Creating a New Journal
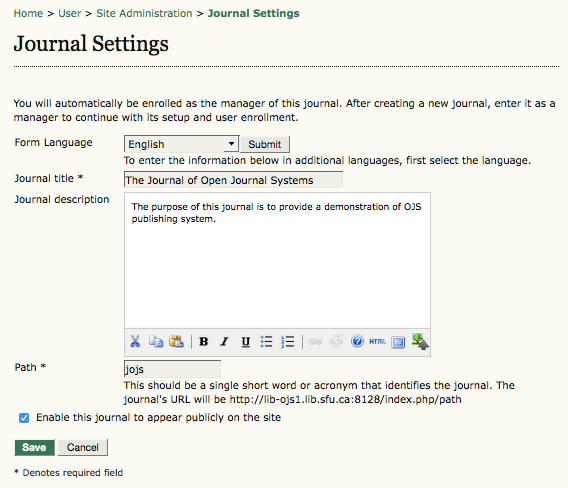
To create a new journal, simply click the Create Journal link and fill out the following Journal Settings form.

Form Options are as follows:
Form Language: If you are working in a multilingual journal, you will need to complete this form in all languages.
Journal Title: This field is mandatory. What you enter here will appear as the new journal’s title in its header. You can change the journal title at a later date, and Journal Managers will be able to change it, and upload header images, from their journal management pages as well.
Journal Description: Anything entered in this field will appear on the new journal’s home page. You can change this information at a later date, and Journal Managers will be able to change the information as well from their journal management pages.
Path: This field is mandatory. The path you enter here will become part of the new journal’s URL, listed after index.php. For example, if your journal title was Journal of Canadian Studies, you may want your path to be ‘jcs’, or perhaps ‘canstudies’. If you enter ‘jcs’, that journal’s URL will be https://example.com/index.php/jcs. You can come back to this page and change the path value at a later date; be aware, however, that you may break search engine and other links by doing so.
Enable This Journal to Appear Publicly on the Site: Checking this box will display the journal title as a hyperlink on the site’s home page. If you uncheck the box the journal will not be listed — but the URL will still be accessible by non-privileged users.
Your new journal will be created once you have filled in all appropriate information and clicked the Save button. Additionally, you will have been enrolled as a Journal Manager for this new journal. At this point you will be the only registered user for that journal, and you should either register an appropriate Journal Manager for initial setup, or undertake initial setup yourself.
Editing, Deleting and Ordering Hosted Journals
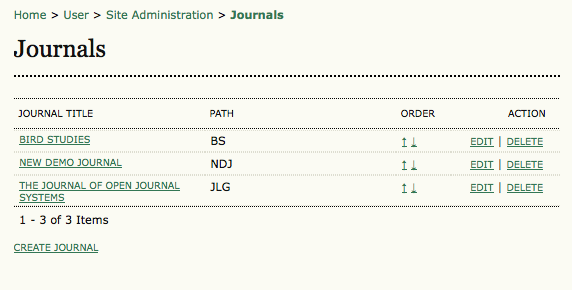
Once you have created a journal you will have a hosted journal list.
Figure: Populated Hosted Journals Page

You will notice that the journal title is hyperlinked. Clicking it will take you to the journal’s Journal Management pages, where you can complete basic journal setup, or enroll another Journal Manager to do so.
To the right of the hyperlinked journal title you will also see Edit and Delete links. Clicking Edit will bring you back to the same page you saw when you created the journal, if you need to edit the journal’s title, description, and other preferences. Clicking Delete will delete the journal and all of its contents permanently.


